项目起步与数据库基础 系列记录:
菜鸟论坛后端开发记录(一) 菜鸟论坛后端开发记录(二)
因为专业实训想要开发一个小型的论坛,但是由于大家对于相关的技术都不熟悉(会),所以写这篇文章来记录,分享学习与开发的过程。
创建Spring boot项目 使用Spring boot可以帮助我们快速开始后端程序的开发,之前接触过一点,所以这次还是使用了Spring boot作为后端框架。
在IDEA新建项目的时候选择spring,并选择WEB-Spring Web项目
之后会花费比较长的一段时间构建项目,构建好项目之后点击RUN,即可开始运行,当然一开始访问8080端口什么都没有,因为我们还什么都没有做。
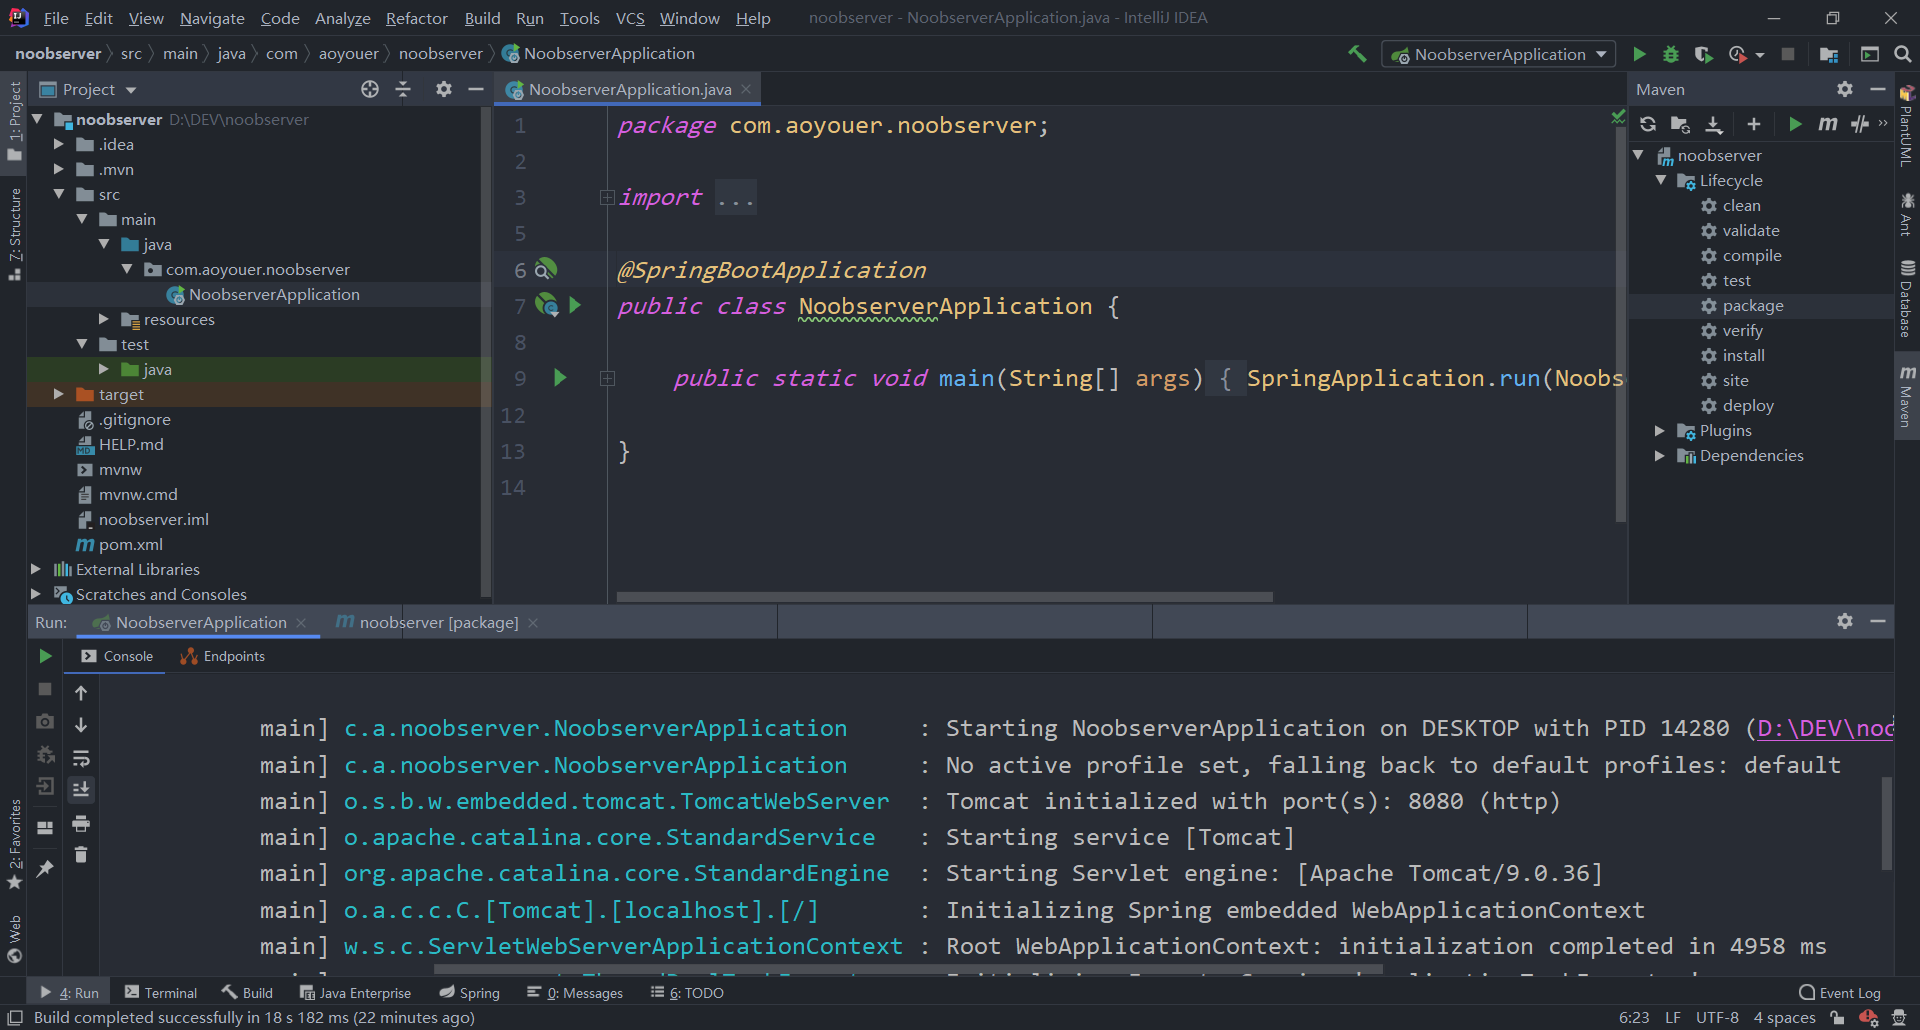
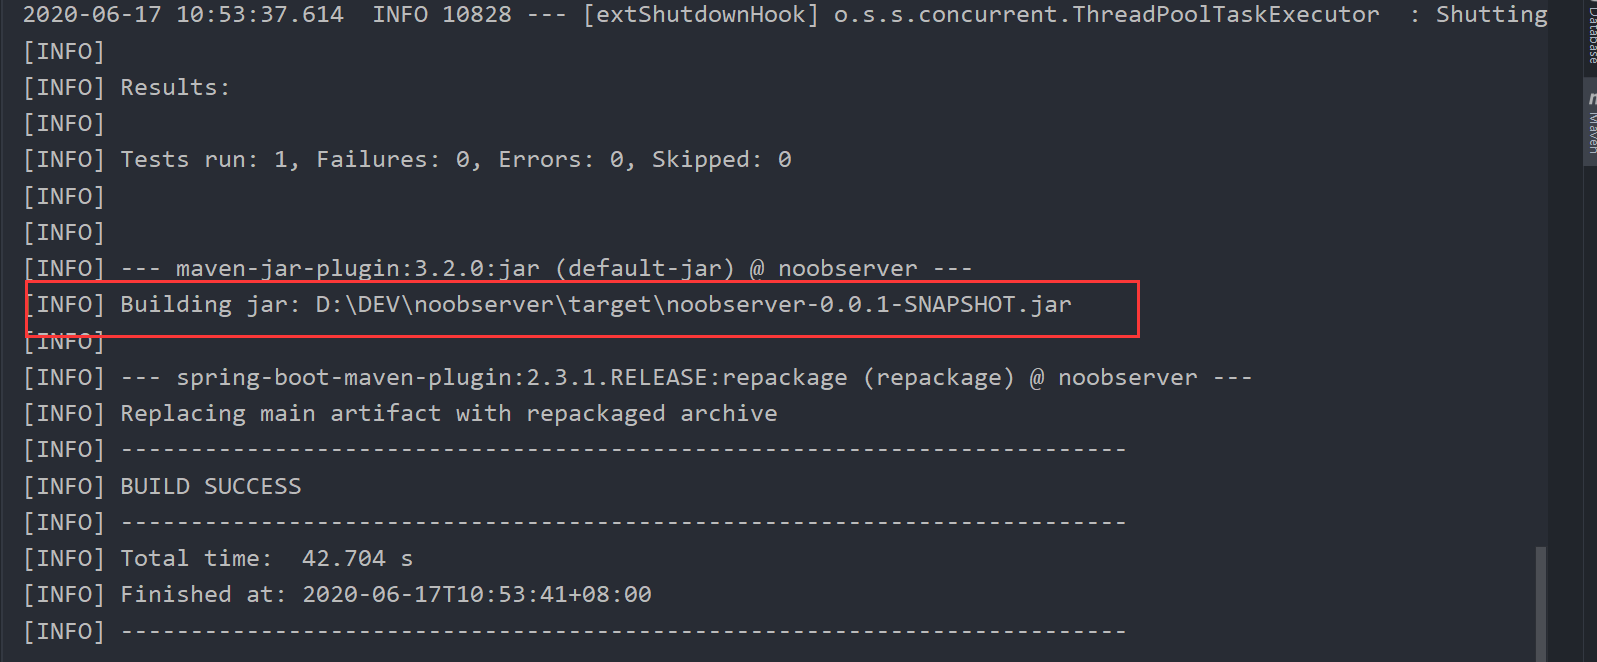
将Spring boot项目部署到服务器上运行 我们可以将Spring boot先打包成jar包,然后上传到服务器上运行,首先点击右侧的Maven标签,然后先点击clean清除之前的jar包,然后再点击package将当前的jar包打包,打包成功之后会显示jar包路径(target目录),前往这个目录找到jar包。
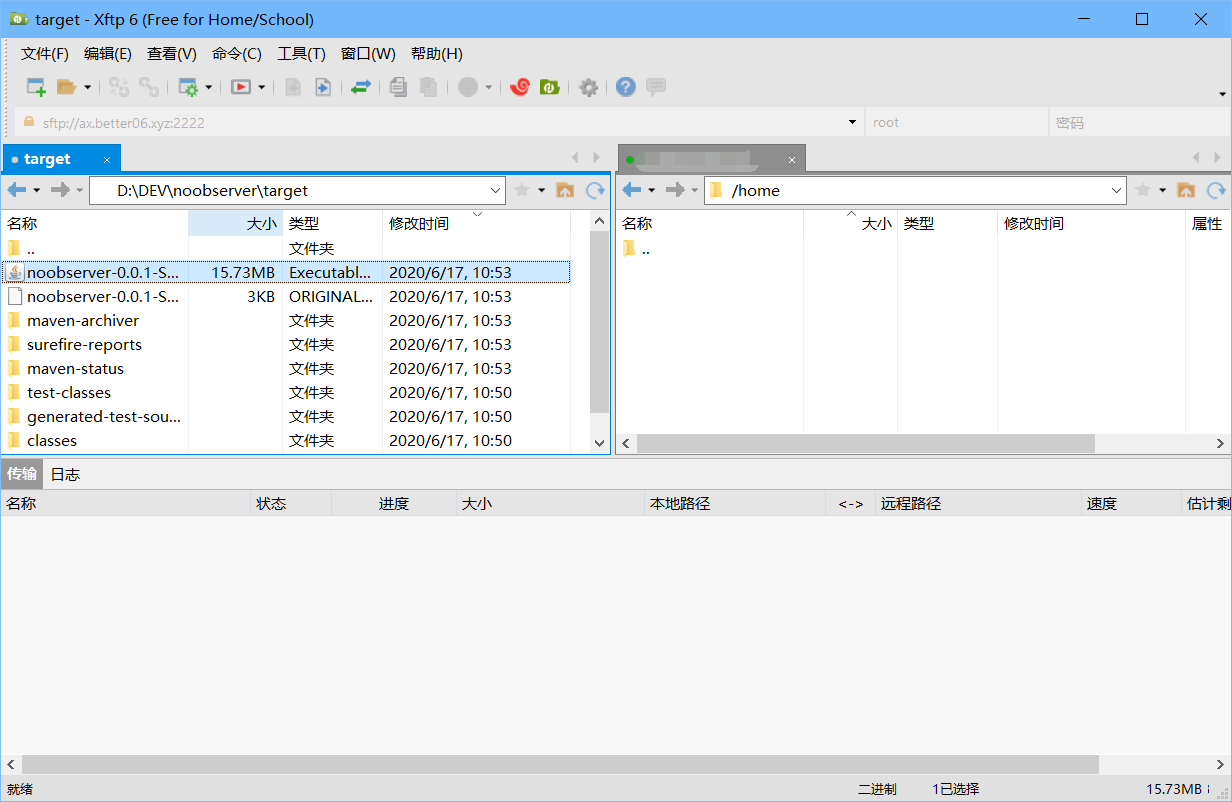
并使用xftp将该jar包传到服务器上
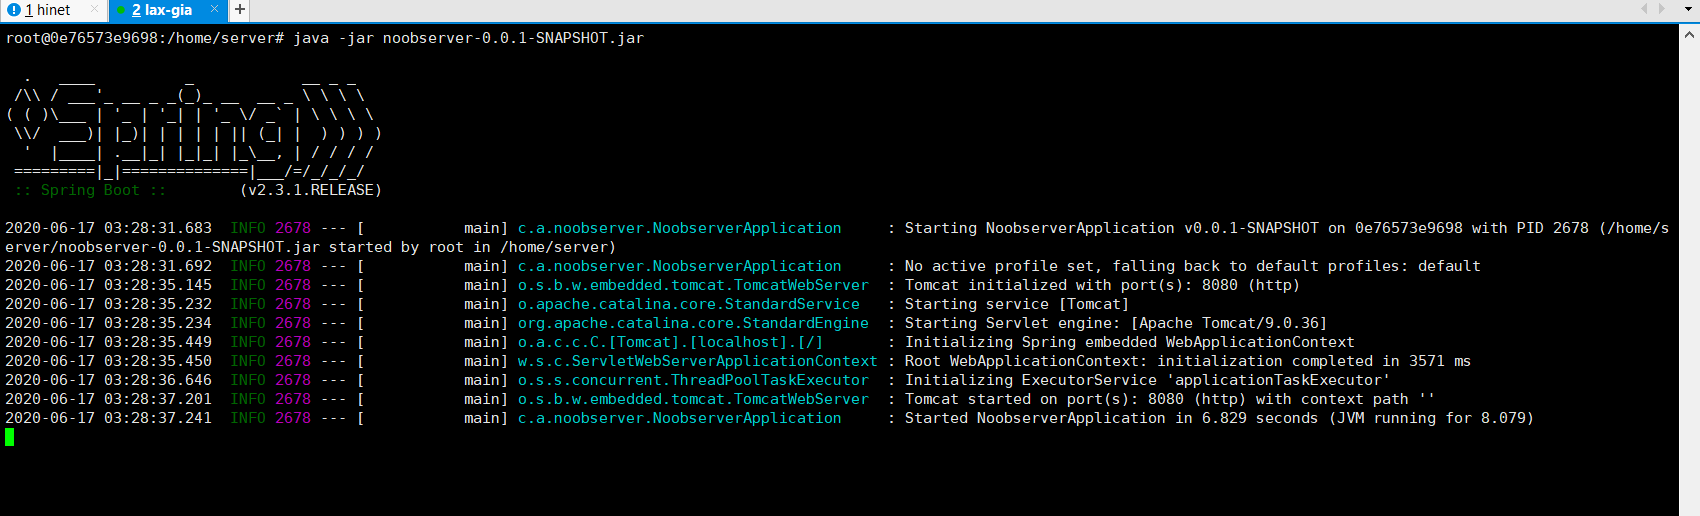
为了避免多人同时启动程序失败的情况,请大家在tmux中运行服务端程序,tmux的用法请自行搜索。
tmux a -t server,使用root@0e76573e9698:/home/server# java -jar noobserver-0.0.1-SNAPSHOT.jar来启动程序,可以看到程序已经开始运行了,之后即可通过http://bbs.aoyouer.com:8080来请求服务端,当然一开始什么都没有。
安装并配置数据库 服务器安装数据库 1 2 3 4 5 6 7 8 9 apt install mariadb-server systemctl start mysql mysql_secure_installation mysql MariaDB [(none)]> CREATE USER 'noob' @'%' IDENTIFIED BY 'hustxxxx' ; MariaDB [(none)]> GRANT ALL ON *.* TO 'noob' @'%' ; MariaDB [(none)]> CREATE DATABASE noob_bbs;
接着,我尝试远程连接数据库的时候出现了报错 ERROR 2013 (HY000): Lost connection to MySQL server at ‘reading initial communication packet’, system error: 0 “Internal error/check (Not system error)” ,经过查询,解决方法如下,编辑 /etc/mysql/mariadb.conf.d/50-server.cnf 文件,注释掉bind-address这一行。
1 2 3 # Instead of skip-networking the default is now to listen only on # localhost which is more compatible and is not less secure. #bind-address = 127.0.0.1
之后便可以远程连接了(其实并没有必要,不过我不想在本地装mysql了,所以直接连接到远程的服务器上的数据库进行开发)
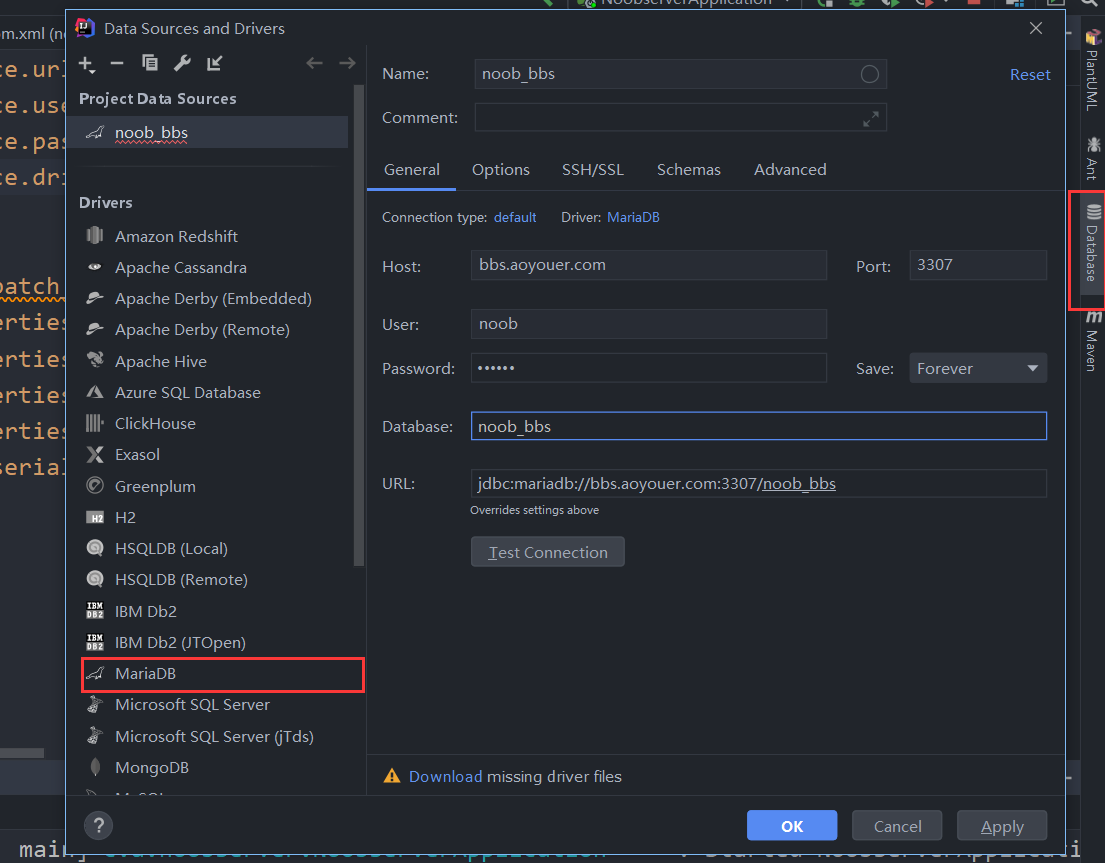
为了便于操作,我们可以直接使用IDEA内置的插件打开服务器上的数据库
程序与数据库连接 接着我们要尝试让我们的程序连接到数据库,先添加依赖,修改maven的pom.xml
添加如下依赖
1 2 3 4 5 6 7 8 9 10 <dependency > <groupId > org.mariadb.jdbc</groupId > <artifactId > mariadb-java-client</artifactId > </dependency > <dependency > <groupId > org.springframework.boot</groupId > <artifactId > spring-boot-starter-data-jpa</artifactId > </dependency >
然后在application.properties或application.yml文件中配置数据库连接,关于hibernate
我编辑的是application.properties
1 2 3 4 5 6 spring.datasource.url =jdbc:mysql://bbs.aoyouer.com:3307/noob_bbs spring.datasource.username =noob spring.datasource.password =hustsenoob_bbs spring.datasource.driver-class-name =org.mariadb.jdbc.Driver spring.jpa.hibernate.ddl-auto =update spring.jpa.show-sql =true
jpa需要我们用到 Entity,Repository,Controller
我们首先创建Entity类,此类的对象将会被持久化成数据库中的信息,如我们要有一个数据表记录用户,那么我先创建DemoUserEntity类,如果添加@Entity注解后,无法识别(下面还是红色波浪线),使用alt+enter并加入依赖即可。
创建实体类Entity 首先我们创建用户实体类 DemoUserEntity,该对象的属性都会映射成数据库表中的字段。如该实体类有
id, account, password, email几个字段
1 2 3 4 5 6 7 8 9 10 11 12 13 14 15 16 17 18 19 20 21 22 23 24 25 26 27 28 29 30 31 32 33 34 35 36 37 38 39 40 41 42 43 44 45 46 47 48 49 50 51 52 53 54 55 56 57 package com.aoyouer.noobserver.entities;import org.springframework.boot.autoconfigure.EnableAutoConfiguration;import javax.persistence.*;@Entity public class DemoUserEntity @Id @GeneratedValue (strategy = GenerationType.AUTO) private Long id; private String account; private String password; private String email; public DemoUserEntity () } public DemoUserEntity (String account, String password, String email) this .account = account; this .password = password; this .email = email; } public String getAccount () return account; } public void setAccount (String account) this .account = account; } public String getPassword () return password; } public void setPassword (String password) this .password = password; } public Long getId () return id; } public void setId (Long id) this .id = id; } public String getEmail () return email; } public void setEmail (String email) this .email = email; } }
创建Repository接口 Repository是实际用来操作数据库的接口 ,在这个接口中我们可以定义程序如何操作数据库,我们还可以添加一个自定义方法,如根据用户名查找用户。 注意,这些方法的命名都有一套规范,只要按照规范命名,这些方法就不需要自己实现,就可以使用 参考https://blog.csdn.net/sbin456/article/details/53304148
注意里面的方法
1 2 3 4 5 6 7 8 package com.aoyouer.noobserver.repository;import com.aoyouer.noobserver.entities.DemoUserEntity;import org.springframework.data.repository.CrudRepository;public interface DemoUserRepository extends CrudRepository <DemoUserEntity ,Long > DemoUserEntity findDemoUserEntityByAccount (String account) ; }
创建Service类 之前的操作有一点不恰当的地方,我在Controller中直接使用了Repository,但是规范来说应该先创造Service类,Controller类通过Service类来操作Repository。至于为什么要这么做,以及它们的区别。
https://blog.csdn.net/Dream_Weave/article/details/84534800
https://www.cicoding.cn/spring/whats-the-difference-between-component-repository-service-controller-annotations-in/
1 2 3 4 5 6 7 8 9 10 11 12 13 14 15 16 17 18 19 20 21 22 23 24 25 26 27 package com.aoyouer.noobserver.service;import com.aoyouer.noobserver.entitiy.DemoUserEntity;import com.aoyouer.noobserver.repository.DemoUserRepository;import org.springframework.beans.factory.annotation.Autowired;import org.springframework.stereotype.Service;import org.springframework.transaction.annotation.Transactional;import javax.annotation.Resource;@Service public class DemoUserService @Resource private DemoUserRepository demoUserRepository; @Transactional public void save (DemoUserEntity demoUserEntity) demoUserRepository.save(demoUserEntity); } @Transactional public DemoUserEntity getDemoUserByAccount (String account) return demoUserRepository.findDemoUserEntityByAccount(account); } }
创建Controller类 controller类关系到和用户的交互操作,如接受请求并调用repository的方法操作数据库。
1 2 3 4 5 6 7 8 9 10 11 12 13 14 15 16 17 18 19 20 21 22 23 24 25 26 27 28 29 30 31 32 33 34 35 36 37 38 39 40 package com.aoyouer.noobserver.controller;import com.aoyouer.noobserver.entitiy.DemoUserEntity;import com.aoyouer.noobserver.repository.DemoUserRepository;import com.aoyouer.noobserver.service.DemoUserService;import com.aoyouer.noobserver.utils.Response;import org.springframework.beans.factory.annotation.Autowired;import org.springframework.stereotype.Controller;import org.springframework.web.bind.annotation.GetMapping;import org.springframework.web.bind.annotation.RequestMapping;import org.springframework.web.bind.annotation.RequestParam;import org.springframework.web.bind.annotation.RestController;import javax.annotation.Resource;@Controller @RestController @RequestMapping (path = "/api" )public class DemoUserController @Resource DemoUserService demoUserService; @GetMapping (path = "/getdemouser" ) public Response getDemoUser (@RequestParam String account) DemoUserEntity demoUserEntity = demoUserService.getDemoUserByAccount(account); return new Response(200 ,demoUserEntity); } @GetMapping (path = "/adddemouser" ) public Response addDemoUser (@RequestParam String account,@RequestParam String password, @RequestParam String email) DemoUserEntity demoUserEntity = new DemoUserEntity(account,password,email); demoUserService.save(demoUserEntity); return new Response(200 ,"成功添加用户" ); } }
测试 之后便可以开始运行了。
首先尝试请求
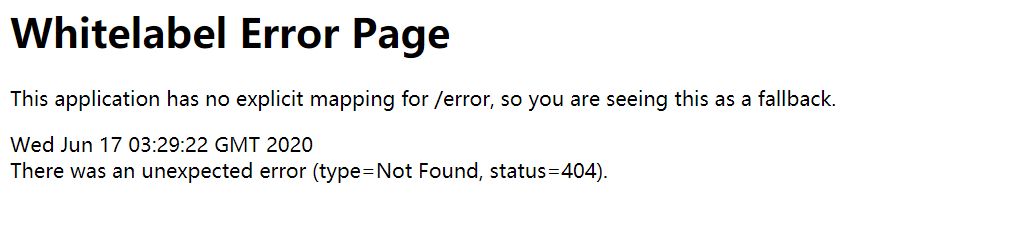
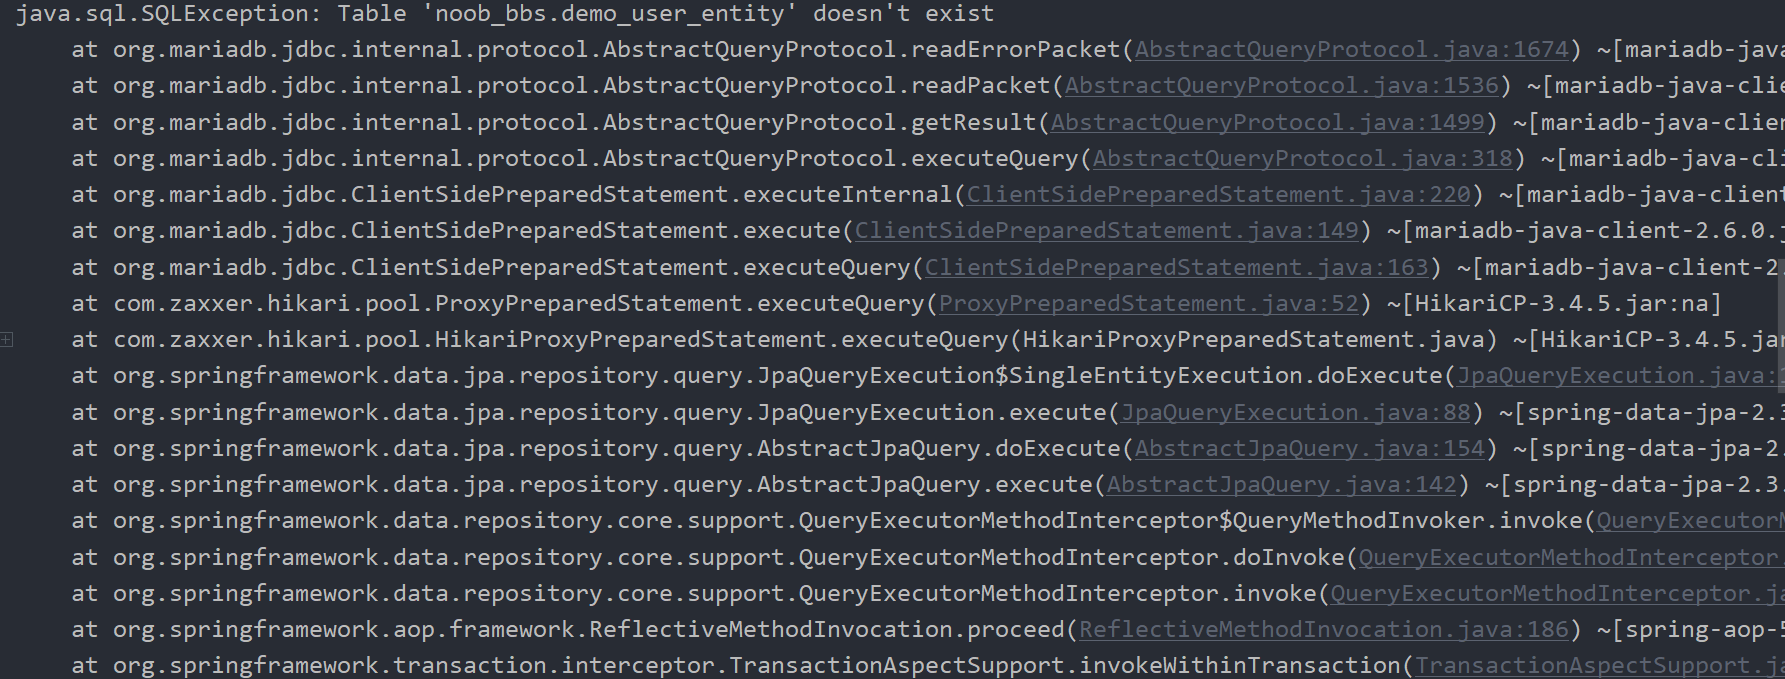
http://localhost:8080/api/getdemouser?account=admin,查看后台,发现出错了,因为此时我们连数据表都没有创建。。需要在之前的`application.properties`中添加一行(现在已经加上了)。
spring.jpa.hibernate.ddl-auto=update
设置自动创建表之后重启程序,可以看到数据表已经创建了。
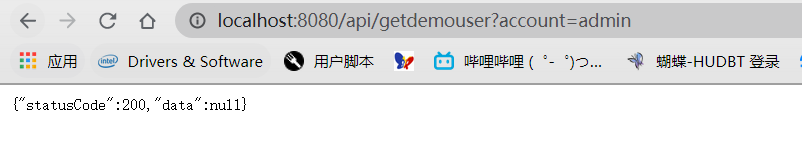
先请求http://localhost:8080/api/getdemouser?account=admin,不过由于这个时候数据库中还没有记录
那我们尝试添加一个对象吧
http://localhost:8080/api/adddemouser?account=admin&password=hahaha&email=aoyouer@qq.com
查看后台,执行了对应的sql
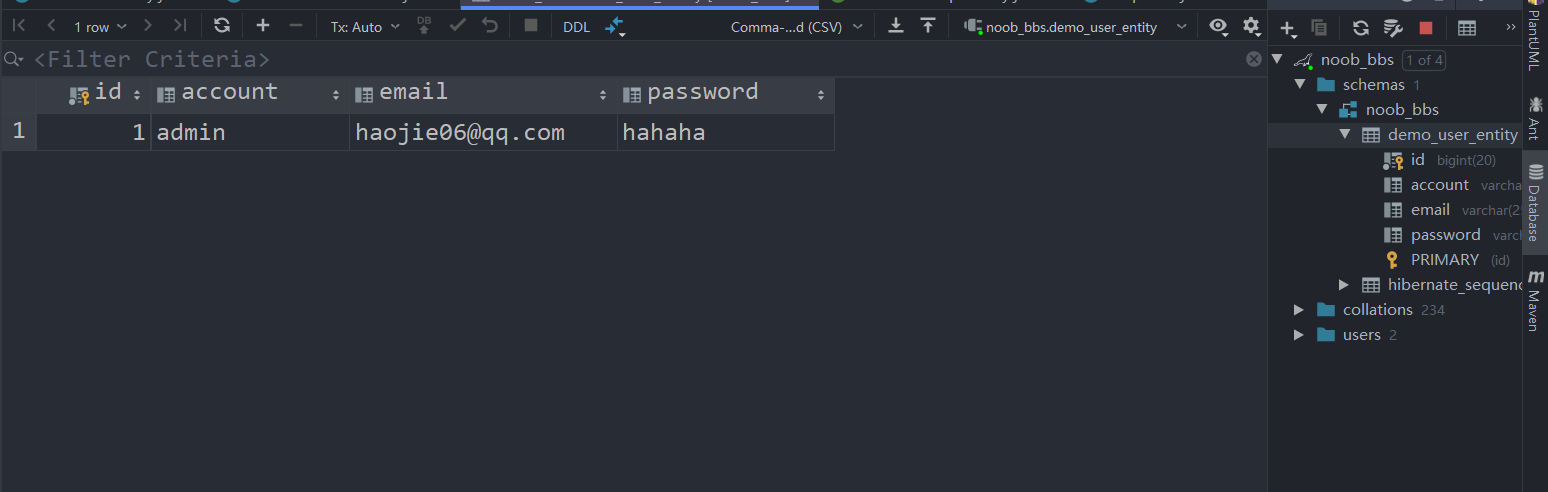
再查看数据库
再次使用第一个请求,成功获取到了数据。
参考
Spring boot中的注解 Spring boot入门 https://www.yiibai.com/spring-boot/spring_boot_introduction.html 聊聊@Repository、@Component、@Controller、@Service有什么区别 JPA数据查询 Apache Shiro Websocket加入 JPA查询方法命名 https://blog.csdn.net/sbin456/article/details/53304148